FlyoutMenus
来源:互联网 发布:网络彩票恢复最新消息 编辑:程序博客网 时间:2024/09/21 11:23
FlyoutMenus
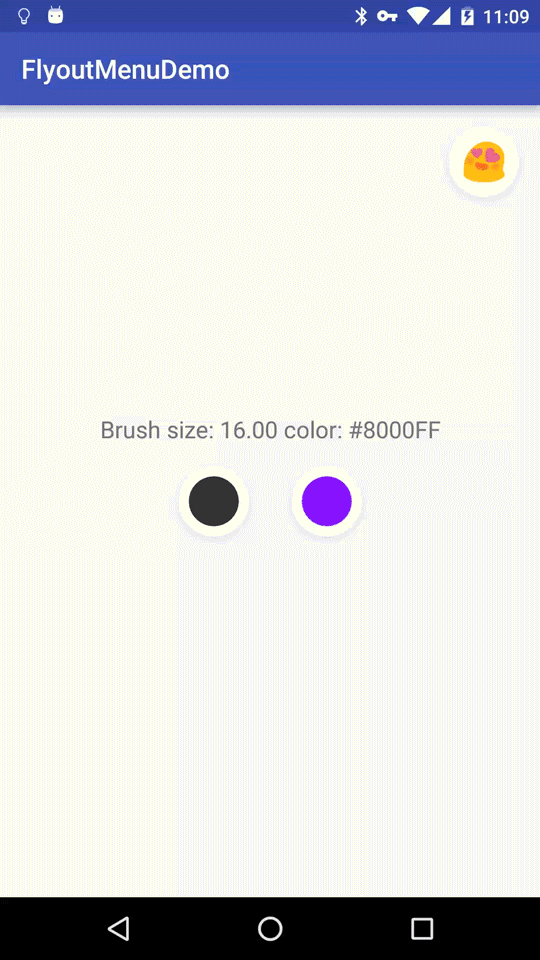
Simple material-style flyout menus for Android. There are many flyout type menus for Android, but this one is mine.
compile 'org.zakariya.flyoutmenus:flyoutmenu:0.5.3'- minSdkVersion: 14 Note: when running on SDK less than 18, hardware rendering is disabled. This means that button shadows are clipped. To work around this, add a bit of padding to the view.
XML
<org.zakariya.flyoutmenu.FlyoutMenuView android:id="@+id/myMenu" android:layout_width="wrap_content" android:layout_height="wrap_content" android:layout_marginBottom="@dimen/flyout_menu_button_margin" android:layout_marginLeft="@dimen/flyout_menu_button_margin" android:layout_marginRight="@dimen/flyout_menu_button_margin" android:layout_marginTop="@dimen/flyout_menu_button_margin" app:fmButtonSize="@dimen/flyout_menu_button_size" app:fmItemHeight="@dimen/palette_menu_item_size" app:fmItemMargin="0dp" app:fmItemWidth="@dimen/palette_menu_item_size" app:fmMenuAnchor="top" />FlyoutMenuView attributes (all have fm prefix) are:
// the size of the button<attr name="fmButtonSize" format="dimension"/>// the background color of the trigger button<attr name="fmButtonBackgroundColor" format="color"/>// the background color of the menu<attr name="fmMenuBackgroundColor" format="color"/>// the color drawn behind the selected menu item<attr name="fmSelectedItemBackgroundColor" format="color"/>// width of items in the menu<attr name="fmItemWidth" format="dimension"/>// height of items in the menu<attr name="fmItemHeight" format="dimension"/>// margin around items in the menu<attr name="fmItemMargin" format="dimension"/>// menu anchoring position (see below)<attr name="fmMenuAnchor" format="string"/>// margin around the menu - menu will be positioned this far away from the button, but // will also use this to respect screen edges<attr name="fmMenuMargin" format="dimension"/>// if provided, the trigger button will use this as a drawable<attr name="fmButtonSrc" format="reference"/>// elevation for the trigger button. if 0, no shadow is drawn<attr name="fmButtonElevation" format="dimension"/>// elevation for the menu. if 0, no shadow is drawn<attr name="fmMenuElevation" format="dimension"/>// if true, a shield (like for dialogs) is drawn behind the menu<attr name="fmShieldVisible" format="boolean"/>// color of shield drawn behind menu, if shieldVisible == true<attr name="fmShieldColor" format="color"/>// if true, menu operates in "tap to open", "tap to select and dismiss" mode<attr name="fmDialogMode" format="boolean"/>The fmMenuAnchor attribute takes the following values:
top: menu attached above the buttonright|end: menu attached to right of buttonbottom: menu attached beneath buttonleft|start: menu attached to left of buttoncenter: menu centered on top of button
Java
To use a FlyoutMenuView, you must provide a FlyoutMenuView.Adapter (which providesFlyoutMenuView.MenuItem instances) and a FlyoutMenuView.Layout which describes how to position the items in the menu.
You must also provide a subclass of FlyoutMenuView.MenuItem to render your items. You may also subclassFlyoutMenuView.ButtonRenderer to render your trigger button, if you don't want to assign a Drawable.
Here's an example implementation of FlyoutMenuView.MenuItem and FlyoutmenuView.ButtonRenderer which draws a simple unicode character. I use it in the demo app to render emoji.
public class EmojiFlyoutMenu { static String getEmojiByUnicode(int unicode){ return new String(Character.toChars(unicode)); } public static class MenuItem extends FlyoutMenuView.MenuItem { int emojiCode; String emojiString; TextPaint textPaint; public MenuItem(int id, int emojiCode, float size, @ColorInt int color) { super(id); this.emojiCode = emojiCode; this.emojiString = getEmojiByUnicode(emojiCode); textPaint = new TextPaint(); textPaint.setTextSize(size); textPaint.setTextAlign(Paint.Align.CENTER); textPaint.setStyle(Paint.Style.FILL); textPaint.setColor(color); } public int getEmojiCode() { return emojiCode; } @Override public void onDraw(Canvas canvas, RectF bounds, float degreeSelected) { canvas.drawText(emojiString, bounds.centerX(), bounds.centerY() - ((textPaint.descent() + textPaint.ascent()) / 2), textPaint); } } public static class ButtonRenderer extends FlyoutMenuView.ButtonRenderer { int emojiCode; String emojiString; Paint paint; TextPaint textPaint; public ButtonRenderer(int emojiCode, float size, @ColorInt int color) { super(); this.setEmojiCode(emojiCode); paint = new Paint(); paint.setAntiAlias(true); textPaint = new TextPaint(); textPaint.setTextSize(size); textPaint.setTextAlign(Paint.Align.CENTER); textPaint.setStyle(Paint.Style.FILL); textPaint.setColor(color); } public int getEmojiCode() { return emojiCode; } public void setEmojiCode(int emojiCode) { this.emojiCode = emojiCode; this.emojiString = getEmojiByUnicode(this.emojiCode); } @Override public void onDrawButtonContent(Canvas canvas, RectF buttonBounds, @ColorInt int buttonColor, float alpha) { textPaint.setAlpha((int) (alpha * 255f)); canvas.drawText(emojiString, buttonBounds.centerX(), buttonBounds.centerY() - ((textPaint.descent() + textPaint.ascent()) / 2), textPaint); } }}To use the above:
FlyoutMenuView smileyFlyoutMenu = findViewById(R.id.smileyFlyoutMenu); int[] emojiCodes = { 0x1F60D, //smiling face heart shaped eyes 0x1F605, // smiling face with open mouth and cold sweat 0x1F60A, // smiling face 0x1F613, // face with cold sweat 0x1F61E, // disappointed face 0x1F620, // angry face 0x1F62D, // loudly crying face 0x1F4A9, // pile of poo};@ColorInt int color = ContextCompat.getColor(this, R.color.smileyMenuCharColor);float fontSizeInMenu = getResources().getDimension(R.dimen.smiley_menu_item_size) * 0.5f;float fontSizeInButton = getResources().getDimension(R.dimen.flyout_menu_button_size) * 0.5f;// build a List<> of EmojiFlyoutMenu.MenuItemList<EmojiFlyoutMenu.MenuItem> menuItems = new ArrayList<>();for (int code : emojiCodes) { menuItems.add(new EmojiFlyoutMenu.MenuItem(menuItems.size(), code, fontSizeInMenu, color));}// assign a GridLayout with 2 columns and unspecified rows (allows menu to grow vertically)smileyFlyoutMenu.setLayout(new FlyoutMenuView.GridLayout(2, FlyoutMenuView.GridLayout.UNSPECIFIED));// assign the menuItems via an ArrayAdaptersmileyFlyoutMenu.setAdapter(new FlyoutMenuView.ArrayAdapter<>(menuItems));// create and assign the button renderer. we'll change the button renderer's emoji in the callback belowfinal EmojiFlyoutMenu.ButtonRenderer renderer = new EmojiFlyoutMenu.ButtonRenderer(emojiCodes[0], fontSizeInButton, color);smileyFlyoutMenu.setButtonRenderer(renderer);smileyFlyoutMenu.setSelectionListener(new FlyoutMenuView.SelectionListener() { @Override public void onItemSelected(FlyoutMenuView flyoutMenuView, FlyoutMenuView.MenuItem item) { // user has selected an item. update the button renderer's emoji to match renderer.setEmojiCode(((EmojiFlyoutMenu.MenuItem) item).getEmojiCode()); } @Override public void onDismissWithoutSelection(FlyoutMenuView flyoutMenuView) { }});- FlyoutMenus
- nodejs-使用目录来管理模块
- greendao数据库升级(数据库表的迁移)
- java高级编程,JNI的使用。c程序调用java代码
- startActivityForResult()的用法
- 近期开发需要用的service案例 ssh+jdbc
- FlyoutMenus
- 2015华为校招机试题
- ViewPagerCards
- 第七章 浮动
- USACO 2.1 Sorting a Three-Valued Sequence
- 【codeforces 723C C. Sanatorium】
- 线程同步
- Configuration problem: Failed to import bean definitions from relative location
- 可行性研究


